29 Apr How To Improve Your Product Photography
Product photography is your most important tool when running an e-commerce business. It’s the first thing your customer sees when they visit your website or social media pages, and its quality communicates your professionalism and your product’s value. But high-quality, eye-catching photos don’t just engage your customer base on the visual level. In the long term, a smart, well-planned photography strategy establishes your brand presence in the marketplace and in your customers’ minds. Great product photography instantly draws in your customer, converting clicks into purchases. Studies have shown that over 90% of consumers consider visual appearance as a key deciding factor in a purchasing decision (via Justuno and Etsy). It won’t matter if your yarn or fabric is beautiful and vibrant if it’s underlit, blurry, or poorly staged. Customers want to know exactly what they are buying so they can shop with confidence—your products should appear clear, well-lit and as true to life as possible.
Luckily for businesses operating today, one doesn’t need to own a DSLR or other expensive, high caliber camera to create arresting photos. Smartphone cameras grow stronger and more complex with each passing year, offering small business owners the opportunity to beautifully and accurately capture their merchandise. A high-quality camera is a boon, but the following tips and tricks for improving your product photography can easily be employed with the camera phone already in your pocket.
Lighting
Lighting is one of the most important aspects to consider when photographing products. Try not to mix lighting sources, as this will often lead to color disparities in the finished picture. Choose either artificial lighting or natural lighting and stick with it. In both cases, aim for a diffused light. Harshly lit objects result in overblown exposures and dark shadows.
Pro Tip: Aim for neutral clothing when photographing products—white or black are best. Your chosen lighting scheme will reflect off of your clothing and bounce that light around, and that reflected light can skew the color in your photographs.

Natural Light
For natural light, shoot near a sunny window. North-facing windows are best as they have the truest white light. Aim to situate your product a few feet away from the window. Direct sunlight will be much too strong, blowing out colors and deepening shadows. If the sun is still too strong near your available window, employ a sheer curtain to diffuse the glare. Early morning or late afternoon usually offer the most flattering light, but don’t begrudge a cloudy day. A slightly overcast sky eliminates glare and shadows, providing an even source of light that is easy to work with.
Artificial Light
For artificial light, the options are fluorescent, tungsten, and LED. Both fluorescent and tungsten, while relatively inexpensive, can result in inaccurate coloring. LED, while slightly more expensive, is a better option for color accuracy. Invest in two LED lamps or clip-on lights—one will be your key light, and the other your fill light. Place the key light to one side of your camera, above both the product and your camera. The fill light will go on the other side, eliminating any shadows created by the key light. Play with the placements in terms of how close they are to your product to create a favorable lighting scheme.
Accessories
Use a reflector disc or bounce board to direct light onto your product. Reflector discs are fairly cheap, but in a pinch a piece of white foam core works just as well. Cut the foam core into pieces and clamp the pieces around your product to ensure it is well lit from all angles (this is essentially a DIY version of the light boxes linked below). If the artificial lighting feels too harsh, bounce the light off the reflector from a distance to soften the glare instead of directly lighting your product. If you need more light, wrap tin foil around the foam core for a brighter bounce.
If your product is on the smaller side, inexpensive portable light boxes and tent set ups include light stands, backdrops, and tripods. These all-inclusive options simplify not only lighting needs; they also satisfy several tips covered later in this blog.
Rule of Thirds
Many would assume that placing your product in the center of the photograph is the smartest and most effective composition method. However, studies have shown that the human eye is not naturally drawn to the center of a photograph, but rather to points slightly off center. If you divide your frame into a 3×3 lined grid, your subject should be placed at the points where the lines intersect. Both cell phones and cameras offer the ability to overlay a 3×3 grid onto the display screen, making it easier than ever to follow the rule of thirds. Minding the rule of thirds is especially helpful when capturing lifestyle and flat lay shots as it will inherently support attractive framing (more on that later).
Clarity
On a basic level, all photographs need to appear clear and level. Invest in a tripod to ensure an unsteady hand doesn’t interfere with the consistency of your photos or create distortion and blurriness. A tripod will stabilize pictures and produce professional results (and save aching arms!). It will also allow you to easily and efficiently standardize and replicate the framing of your products. Set up the tripod once and then switch out products as necessary. Also, don’t forget to employ the autofocus feature on your camera or phone. Autofocus will do a far better job of maintaining a clear shot than manual adjustments.
Story Strategy
When considering product photography, bear in mind your desired branding strategy. Are you an indie dyer who wants to express your love of color? Then you might plan photographing your yarn around complementary or contrasting color backdrops to amplify your dyeing skills. Conversely, you might prefer an all white backdrop to punch up colors, utilizing the simplicity of a portable light box. Are you a jewelry maker specializing in raw stones? An earthier, textured backdrop with custom-made pieces resting on larger minerals could visually support your branding. Decide how you want to tell this graphic story. It isn’t just about how cohesively these photos will stitch together on a website. Think of the applications for your photographs once they’re storyboarded on social media sites like Instagram and Pinterest, and the positive visual impact that can have on your audience. Developing and strengthening your brand’s identity will inform whether you need supporting props, what style of photography to invest in, and where those styles apply, which brings us to the next and final point.
Different Angles – Product Shots, Lifestyle, and Flat Lay
Reflect on the nature of your product. Do you handcraft a line of leather bags? Are you a knitwear designer crafting size-inclusive sweater patterns? Do you offer a wide range of fun, colorful crafting accessories? There are several methods for showcasing these different products. In some cases, it will be advantageous to employ more than one type of product photography.
The following sections use the different businesses outlined above—a crafter of leather bags, a size-inclusive designer, and a seller of crafting accessories—as examples to illustrate the different types of photographs and their best implementations in your business strategy. This includes utilization on social media platforms as well as in an online store, which for many businesses are now one and the same (read our blog on Utilizing Instagram As A Sales Platform for more on that).
Product Shot
The product shot is the most ubiquitous, well-known form of product photography. Usually taken at eye level, this is the photography type in which the portable light boxes and tent set ups mentioned earlier are frequently utilized. Photographers will employ a sweep (a large, stiff but bendable white sheet of paper that doesn’t show lines or folds) to give a crisp, seamless backdrop that not only reflects soft light, but also shows the product in stark relief. If you handcraft leather bags, product shots are indispensable in displaying the finer elements of your product. It is standard when taking product photos to take several photos from different angles. You might show your bag from the front, back, and side, and offer close-up details on any buckles, inside pockets, or stitchwork on the handles. A product shot removes any other distractions from the frame to truly showcase your product. Its strongest use is in your online store, where information about the details of your product should be front and center.
Lifestyle
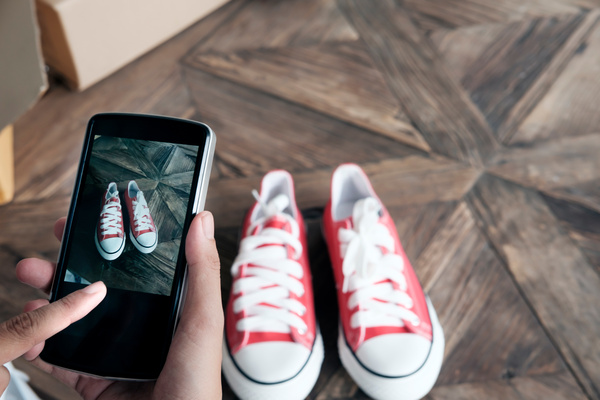
Lifestyle photography exhibits your product in action, placing it within the context of your customer’s life. That can mean featuring your product in a home or being used or worn by a person. Lifestyle photography is an opportunity to reinforce your brand. What kind of person do you imagine owning your product? What does their life look like? What other items might exist around your product? If you’re shooting indoors, think of the props that will fill the scene. Choosing to shoot outside will demand less staging of props, but the light conditions might be harder to control. Identify the story you wish to tell—that’s what lifestyle photography is all about. Let’s say you’re a knitwear designer drafting size-inclusive sweater patterns. Rather than a flat lay photo of a sweater, your lifestyle photography would focus on providing an accurate depiction of how your design fits on different bodies (but don’t toss out the flat lay idea entirely—save it for a social media post showing off the myriad ways your design can be styled!). If your story is inclusivity, think of the kinds of models you might hire to communicate your branding. Ideally, your models should reflect your customers so that the latter can see themselves wearing your work.
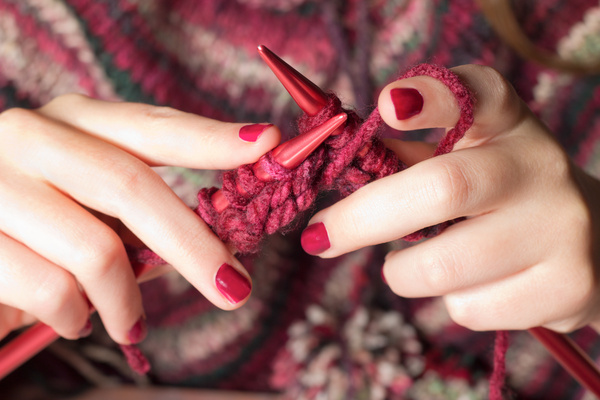
Flat Lay
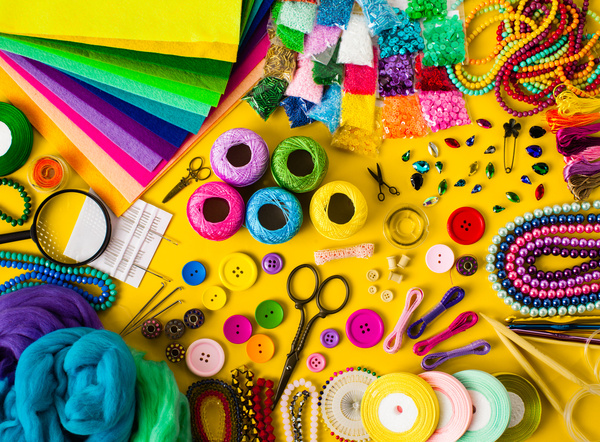
Flat lay photography is immensely popular on social media, especially on platforms like Instagram and Pinterest. Flat lay showcases the product from above, and often employs neutral backgrounds and secondary props. A tripod arm is indispensable in flat lay photography—it keeps your shadow out of the shot and saves your arms and back. If you’re selling a variety of crafting accessories, flat lay photography is a fantastic option and a great opportunity to get creative. Arrange a selection of buttons in the colors and form of a rainbow against a white background. Display everything a knitter needs in their bag when knitting on the go in one shot (think of the additional products as your secondary props!). A neutral background doesn’t have to be boring, either—just try to avoid busy patterns that draw attention away from your products. Choose a fun color that makes your rainbow metallic stitch markers pop, or utilize a plank of wood whose textural grain accents the natural lustre of your embroidery scissors. Flat lay photography encourages fun compositions; this is where the rule of thirds truly shows its strength.
Pro Tip: Flat lay is an invitation to play with words as well. Thoughtfully organize your product around the edges or along one side of the photograph; the empty space can be filled in later with text or a CTA and used on social media.
Mastering the art of product photography can feel overwhelming, but we’re here to help you on your journey. Contact us today to learn more about improving your product photography.


No Comments